Running as an App Service in Azure
Summary
Convier can run within an Single Docker Container App Service in Azure. The Docker image is downloaded from Convier’s private repository, hosted on Azure. It can be assigned to its own subscription and resource group. By default the application writes config to a persistent storage attached to the app service, which by default is backed up every hour. The application can automatically upgrade when new versions of the Docker image becomes available.
Preparation
Register enterprise application
Register a single tenant enterprise application, e.g. named Convier Single Tenant from the Azure portal. Single tenant means the enterprise applications only can be used within your organization.
Under app registrations, API permissions, add permission User.Read this allows the app to fetch basic information about logged in users.
Under app registrations, App roles, add three roles:
Task.ReadTask.Manage
Groups can be assigned to the different roles. The only difference between Task.Read and Task.Manage is the ability to make changes for other users. Task.Audit is allowed to query the audit log.
If you want to restrict access to Convier to certain users/groups, see the documentation in Azure for how to restrict access to the application.
Create a client secret that will be used by the Convier app to authorize users.
Create a new subscription
Optionally create a new subscription for the App Service.
Set up App Service
The following are two different methods to set up Convier as an App Service on Azure. The first option is the preferred and simplest method.
Please note that with local (default) configuration, Convier does not support redundancy, make sure instance count is 1, or configure a central database connection (JDBC_CONNECTION_STRING).
Option 1 - With an ARM template:
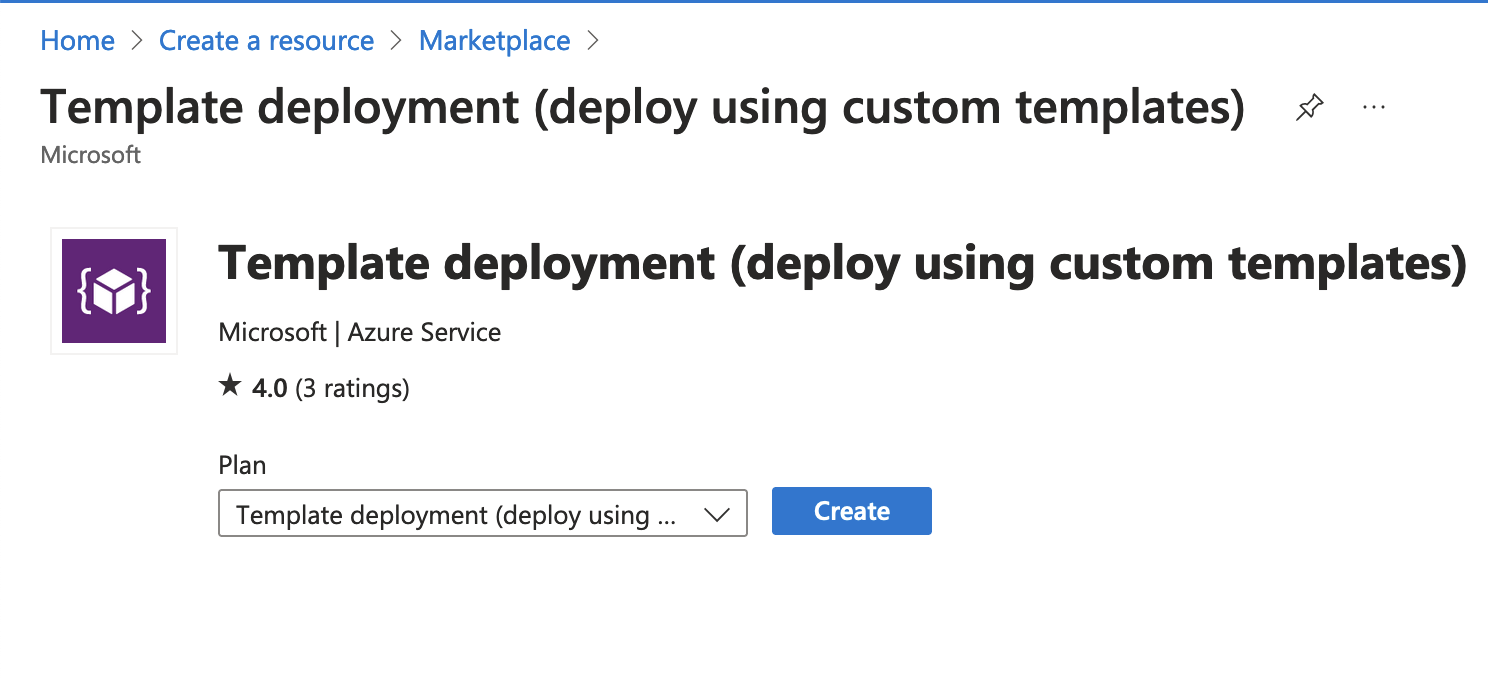
Open Azure Portal, click “Create a resource”, search for “Template deployment” and select “Template deployment (deploy using custom templates)”.

Click “Create”, then “Build your own template in the editor”. Paste in the following in the editor:
{
  "$schema": "https://schema.management.azure.com/schemas/2019-04-01/deploymentTemplate.json#",
  "contentVersion": "1.0.0.0",
  "parameters": {
    "docker_username": {
      "type": "string"
    },
    "docker_password": {
      "type": "securestring"
    },
    "oidc_client_id": {
      "type": "string"
    },
    "oidc_client_secret": {
      "type": "securestring"
    },
    "encryption_key": {
      "type": "securestring"
    }
  },
  "variables": {
      "unique_suffix": "[tolower(uniqueString(resourceGroup().Id))]",
      "app_name": "[concat('convier-', variables('unique_suffix'))]",
      "app_plan_name": "[concat('convier-app-plan-', variables('unique_suffix'))]",
      "instance_url": "[concat('https://', variables('app_name'), '.azurewebsites.net/convier')]",
      "oidc_config_endpoint": "[concat('https://login.microsoftonline.com/', subscription().tenantId, '/v2.0/.well-known/openid-configuration')]"
  },
  "resources": [
    {
      "type": "Microsoft.Web/serverfarms",
      "apiVersion": "2018-02-01",
      "name": "[variables('app_plan_name')]",
      "location": "[resourceGroup().location]",
      "sku": {
        "name": "B1",
        "tier": "Basic"
      },
      "kind": "linux",
      "properties": {
        "reserved": true
      }
    },
    {
      "type": "Microsoft.Web/sites",
      "apiVersion": "2016-08-01",
      "name": "[variables('app_name')]",
      "location": "[resourceGroup().location]",
      "tags": {},
      "kind": "app,linux,container",
      "dependsOn": [
        "[variables('app_plan_name')]"
      ],
      "properties": {
        "enabled": true,
        "hostNameSslStates": [
          {
            "name": "[variables('instance_url')]",
            "sslState": "Disabled",
            "hostType": "Standard"
          }
        ],
        "serverFarmId": "[resourceId('Microsoft.Web/serverfarms', variables('app_plan_name'))]",
        "siteConfig": {
          "linuxFxVersion": "DOCKER|convier.azurecr.io/convier:stable"
        },
        "httpsOnly": true,
        "publicNetworkAccess": "Disabled"
      }
    },
    {
      "type": "Microsoft.Web/sites/config",
      "apiVersion": "2018-11-01",
      "name": "[concat(variables('app_name'), '/appsettings')]",
      "properties": {
        "DOCKER_REGISTRY_SERVER_URL": "https://convier.azurecr.io",
        "DOCKER_REGISTRY_SERVER_USERNAME": "[parameters('docker_username')]",
        "DOCKER_REGISTRY_SERVER_PASSWORD": "[parameters('docker_password')]",
        "WEBSITES_ENABLE_APP_SERVICE_STORAGE": "true",
        "CONFIG_B64_ENCRYPTION_KEY": "[parameters('encryption_key')]",
        "JDBC_CONNECTION_STRING": "jdbc:sqlite:/home/convier.db",
        "OIDC_CLIENT_ID": "[parameters('oidc_client_id')]",
        "OIDC_CLIENT_SECRET": "[parameters('oidc_client_secret')]",
        "OIDC_CONFIGURATION_ENDPOINT": "[variables('oidc_config_endpoint')]",
        "OIDC_SCOPES": "[concat(parameters('oidc_client_id'), '/.default offline_access')]",
        "PUBLIC_URL": "[variables('instance_url')]",
        "OIDC_ROLE_MANAGE": "Task.Manage",
        "SERVER_PORT": "80"
      },
      "dependsOn": [
        "[resourceId('Microsoft.Web/sites', variables('app_name'))]"
      ]
    }
  ]
}
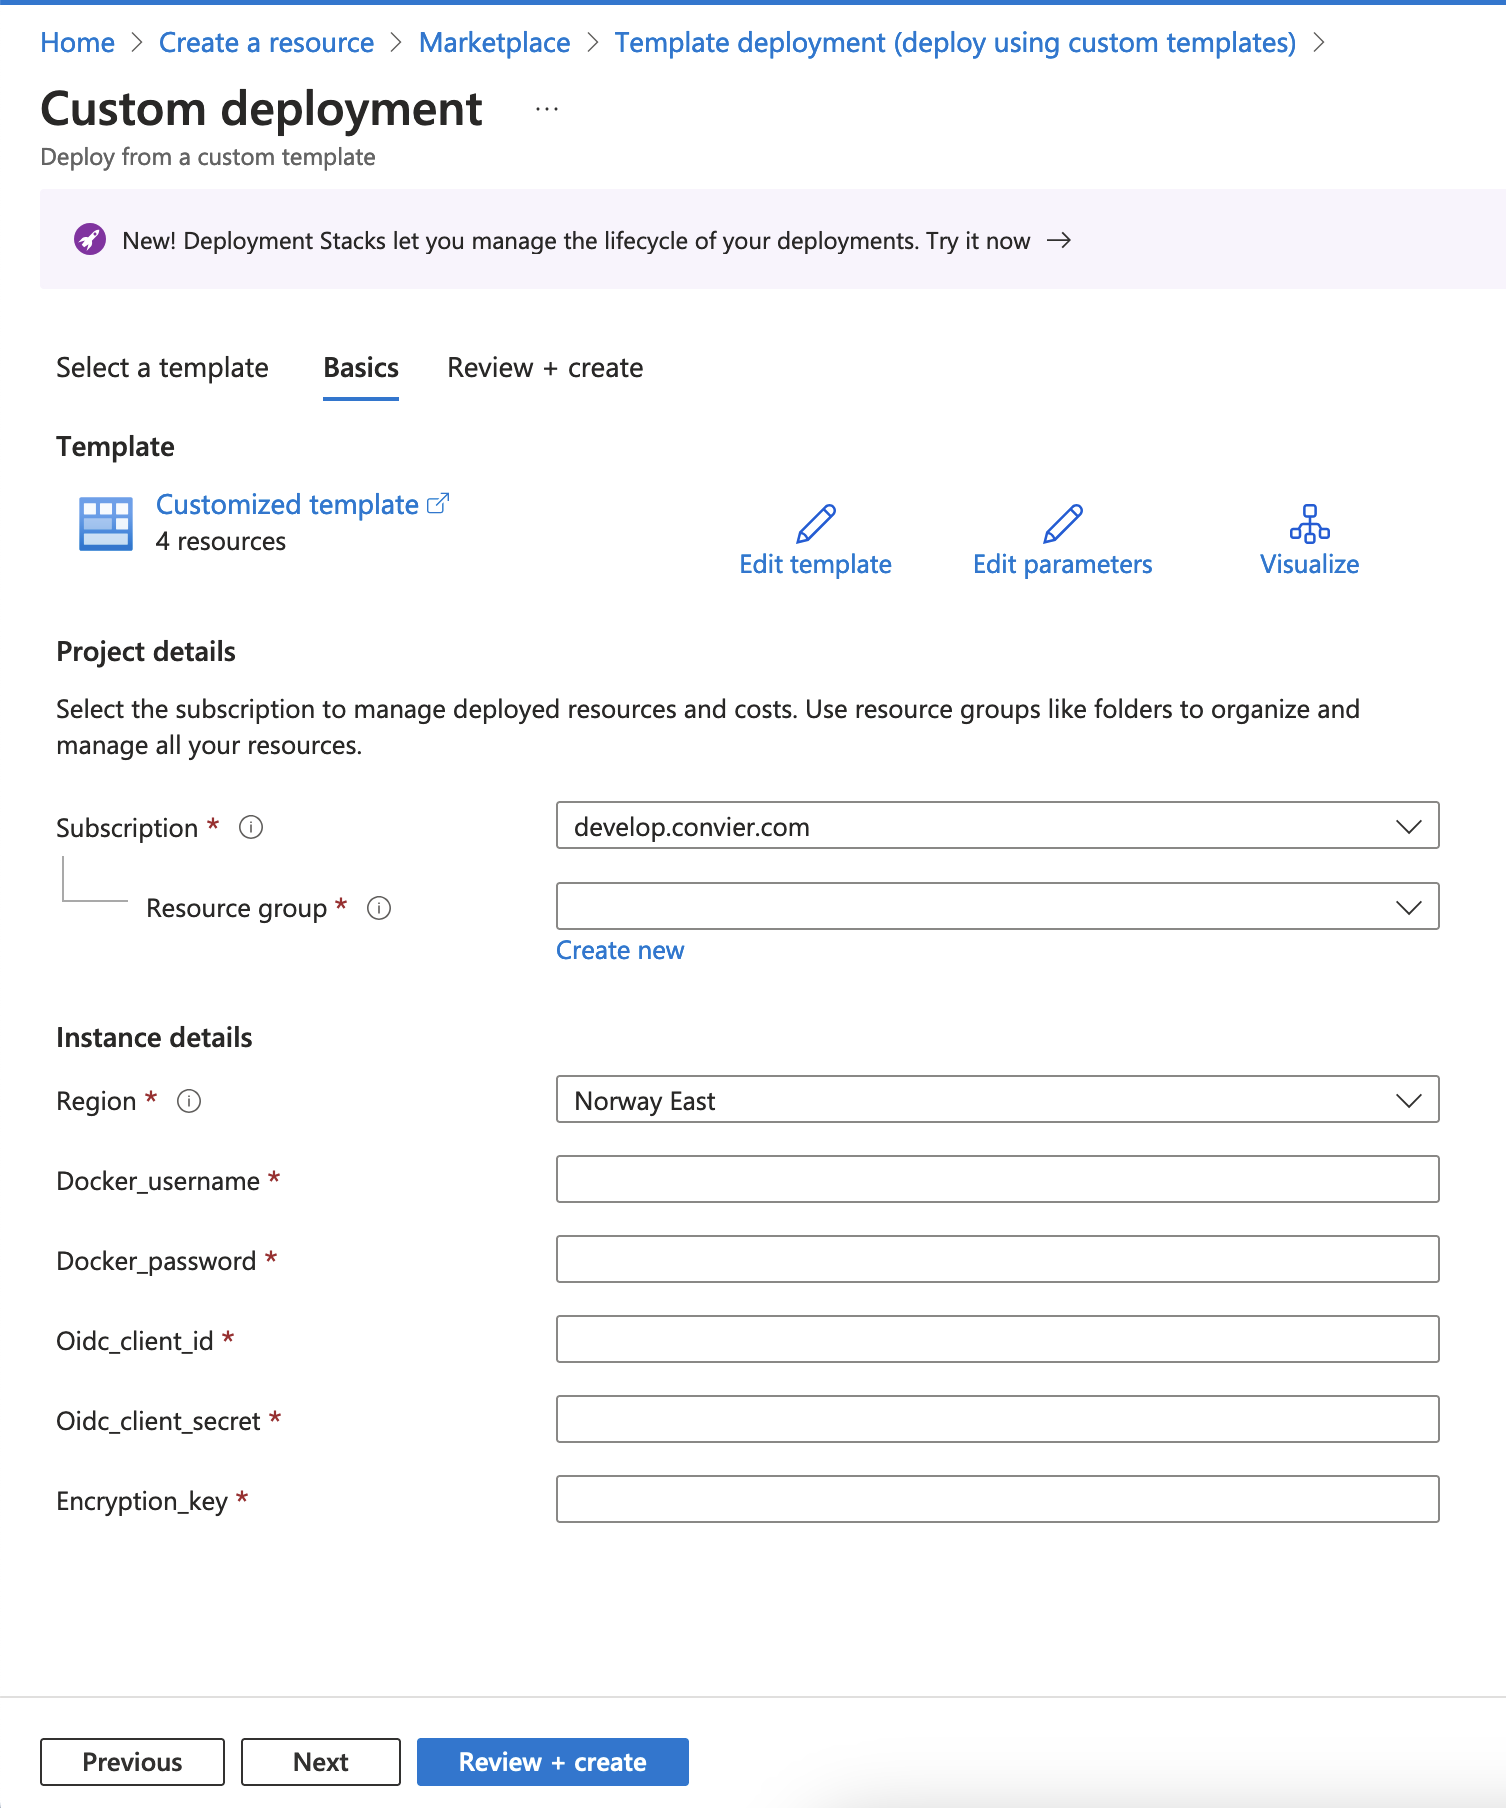
Click “Save”. You should see something like the below:

Fill in the requested information. You should receive the docker username and password through a secure channel from Convier. The encryption key can be generated using openssl rand -base64 32. The Convier team can also assist in generating this key. Click “Review + Create”, and then “Create”. Once the deployment has completed, click “Go to resource group” to set up the network configuration for the App Service. By default no one is allowed access to the service.
Option 2 - Manual creation:
Create a resource group
Optionally create a new resource within the chosen subscription for the App Service.
Create an App Service Plan
Optionally create a new app service plan.
Create the App Service resource
Create a new Web App App Service and assigned it to the chosen subscription and resource group. Give the app an appropriate name and add the following configuration:
Basics
- Publish: Docker Container
- Operating System: Linux
- Region: <Choose>
- Linux plan: <Choose>
Docker
- Options: Single Container
- Image Source: Private Registry
- Server URL: https://convier.azurecr.io
- Because of the *.azurecr.io url, azure will after saving think it’s a “container registry” source. You can edit docker login settings from the “Environment variables” page (variables
DOCKER_REGISTRY_*)
- Because of the *.azurecr.io url, azure will after saving think it’s a “container registry” source. You can edit docker login settings from the “Environment variables” page (variables
- Username: <Your username>
- Password: <Your password>
- Image and tag: convier.azurecr.io/convier:stable
Networking
- Enable public access: Off
Review and create
Add networking restrictions
To add a layer of security, from the app service portal, add restrictions to which IP addresses can access the application.
Configuration
The Convier app accepts configuration in the form of environment variables. These configurations are enrypted and stored within Azure by Microsoft.
Under Configuration, click Advanced edit and add the following entries:
[
  {
    "name": "CONFIG_B64_ENCRYPTION_KEY",
    "value": "<encryption key, see below>",
    "slotSetting": false
  },
  {
    "name": "DOCKER_ENABLE_CI",
    "value": "true",
    "slotSetting": false
  },
  {
    "name": "DOCKER_REGISTRY_SERVER_URL",
    "value": "https://convier.azurecr.io",
    "slotSetting": false
  },
  {
    "name": "DOCKER_REGISTRY_SERVER_USERNAME",
    "value": "<docker username>",
    "slotSetting": false
  },
  {
    "name": "DOCKER_REGISTRY_SERVER_PASSWORD",
    "value": "<docker password>",
    "slotSetting": false
  },
  {
    "name": "JDBC_CONNECTION_STRING",
    "value": "jdbc:sqlite:/home/convier.db",
    "slotSetting": false
  },
  {
    "name": "INTERNAL_AUDIT_LOG_JDBC_CONNECTION_STRING",
    "value": "jdbc:sqlite:/home/audit.db",
    "slotSetting": false
  },
  {
    "name": "OIDC_CLIENT_ID",
    "value": "<client id>",
    "slotSetting": false
  },
  {
    "name": "OIDC_CLIENT_SECRET",
    "value": "<client secret>",
    "slotSetting": false
  },
  {
    "name": "OIDC_CONFIGURATION_ENDPOINT",
    "value": "https://login.microsoftonline.com/<tenant id>/v2.0/.well-known/openid-configuration",
    "slotSetting": false
  },
  {
    "name": "OIDC_ROLE_MANAGE",
    "value": "Task.Manage",
    "slotSetting": false
  },
  {
    "name": "OIDC_SCOPES",
    "value": "openid profile offline_access",
    "slotSetting": false
  },
  {
    "name": "PUBLIC_URL",
    "value": "public_url",
    "slotSetting": false
  },
  {
    "name": "SERVER_PORT",
    "value": "80",
    "slotSetting": false
  },
  {
    "name": "WEBSITES_ENABLE_APP_SERVICE_STORAGE",
    "value": "true",
    "slotSetting": true
  }
]
Scope offline_access enables users to stay logged in.
A key CONFIG_B64_ENCRYPTION_KEY to enable encryption of configuration. The value of CONFIG_B64_ENCRYPTION_KEY must be a 32 character random string (e.g generated with openssl rand -base64 32). It is an AES encryption key used for symmetric encryption of configuration in the internal database. The internal database is by default a SQLite database stored in the persistent storage.
JDBC_CONNECTION_STRING the full connection string to the database that will contain configuration.
INTERNAL_AUDIT_LOG_JDBC_CONNECTION_STRING the full connection string to the database that will store audit logs.
Next steps
- Add a custom domain to the App Service
- Add https://custom_domain/convier as a redirect URL for the Enterprise Application
- Configure inbound network to allow authorized users to access Convier
- Configure firewall and outbound network to allow Convier to connect to data sources
- Add users to the Enterprise Application
- To enable automated updates, under configuration, turn on
SCM Basic Auth Publishing Credentialsand share the webhook URL under deployment center with the Convier team. The app will also check for updates on restart.